Bubbles, Dust and Stretch Marks: Diagnosing SPF Installation Defects
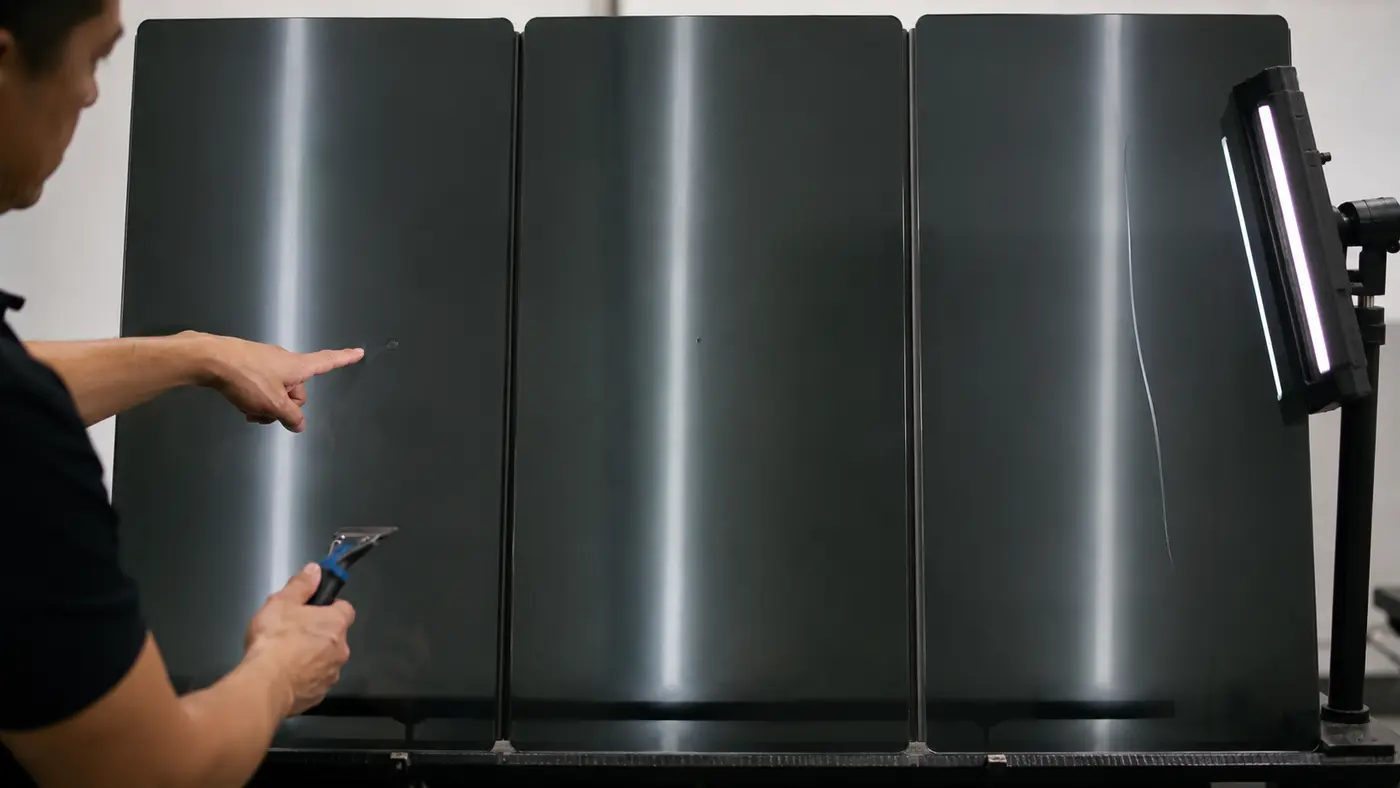
Diagnose Before Correcting
Not every visible spot is an air bubble. Entrapped fluid, air, dust, fibre and substrate defects can look similar. Incorrect diagnosis can turn a minor issue into permanent damage.
Air bubble
Under low-angle light it often has a regular boundary and may move with gentle pressure. If permitted, use the lowest-risk air-release method specified by the product. Do not puncture randomly with a knife.
Dust or fibre
A hard centre remains when pressed. Lifting to remove contamination is acceptable only when adhesive remains clean and the method allows it. Replacement may be safer for large or highly visible debris.
Fluid pocket
In wet installation it may appear soft and irregular. Guide fluid toward an open edge with controlled strokes. Crushing a closed pocket can mark the film.
Stretch mark
This appears as a long line or optical wave indicating an incorrect pull direction. Correct the source of tension rather than hiding it with heat. Replace film when the topcoat or carrier is permanently deformed.
Decision tree
Does it move? → possibly air or fluid.
Is there a hard centre? → possibly dust or fibre.
Is it a long optical line? → possibly stretch or squeegee marking.
Could it be in the substrate? → check the pre-job damage record.
Core rule
Do not intervene when uncertain. Photograph the defect, check the exact instruction and ask a trainer when needed.
Official and manufacturer sources
- OSHA — Hand and power tool safety
- 3M — DI-NOC installation guide
- Avery Dennison — Technical installation documents
- XPEL — Training and certification
Manufacturer links are provided to compare general installation disciplines; they are not evidence of MKK® SPF product performance. Always follow the instructions for the exact product being installed.